
UPrint Design RIP
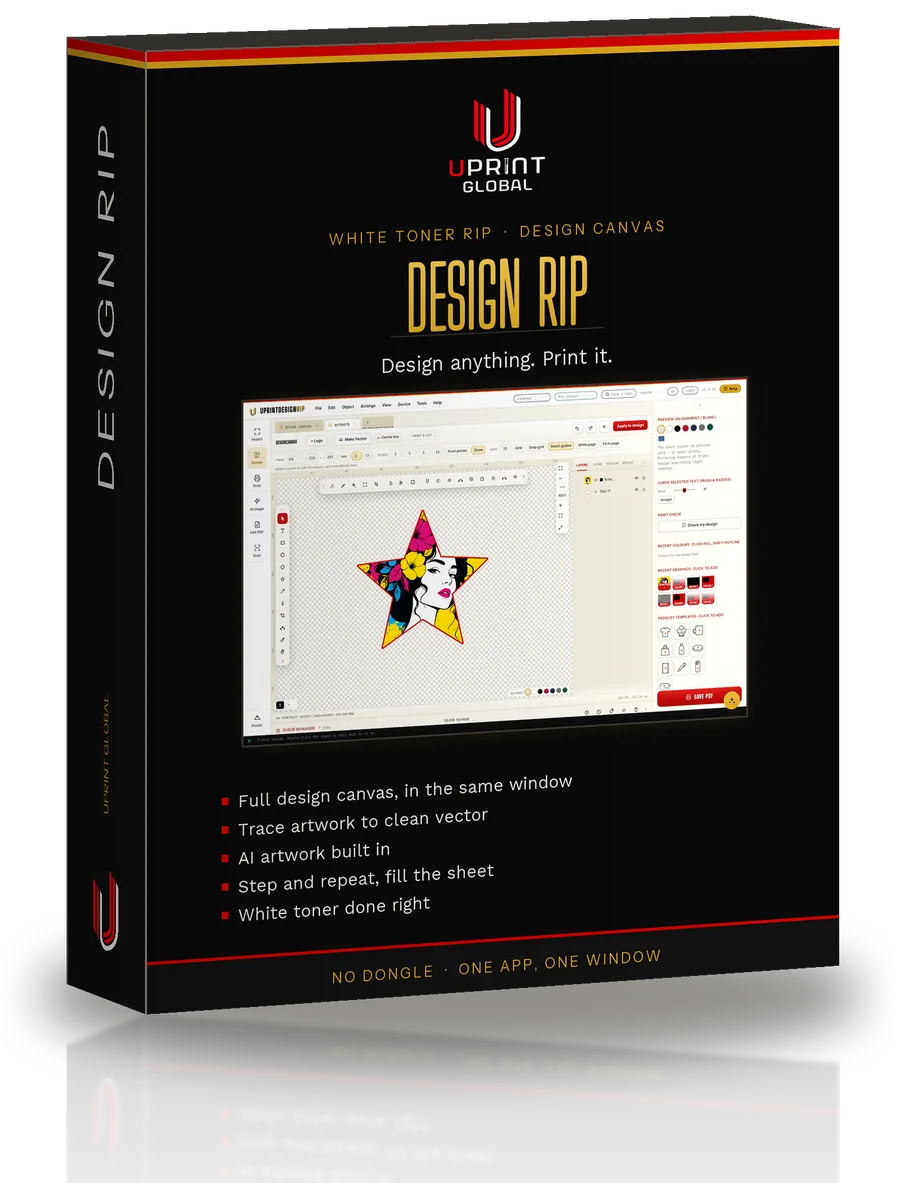
Design it. Print it. No other design software needed.
Design, AI graphics, the AI assistant and the RIP, all in one place. Draw it, trace it, or describe it and let the AI make it. Then lay out the sheet and print white toner. One app, one window, no dongle.
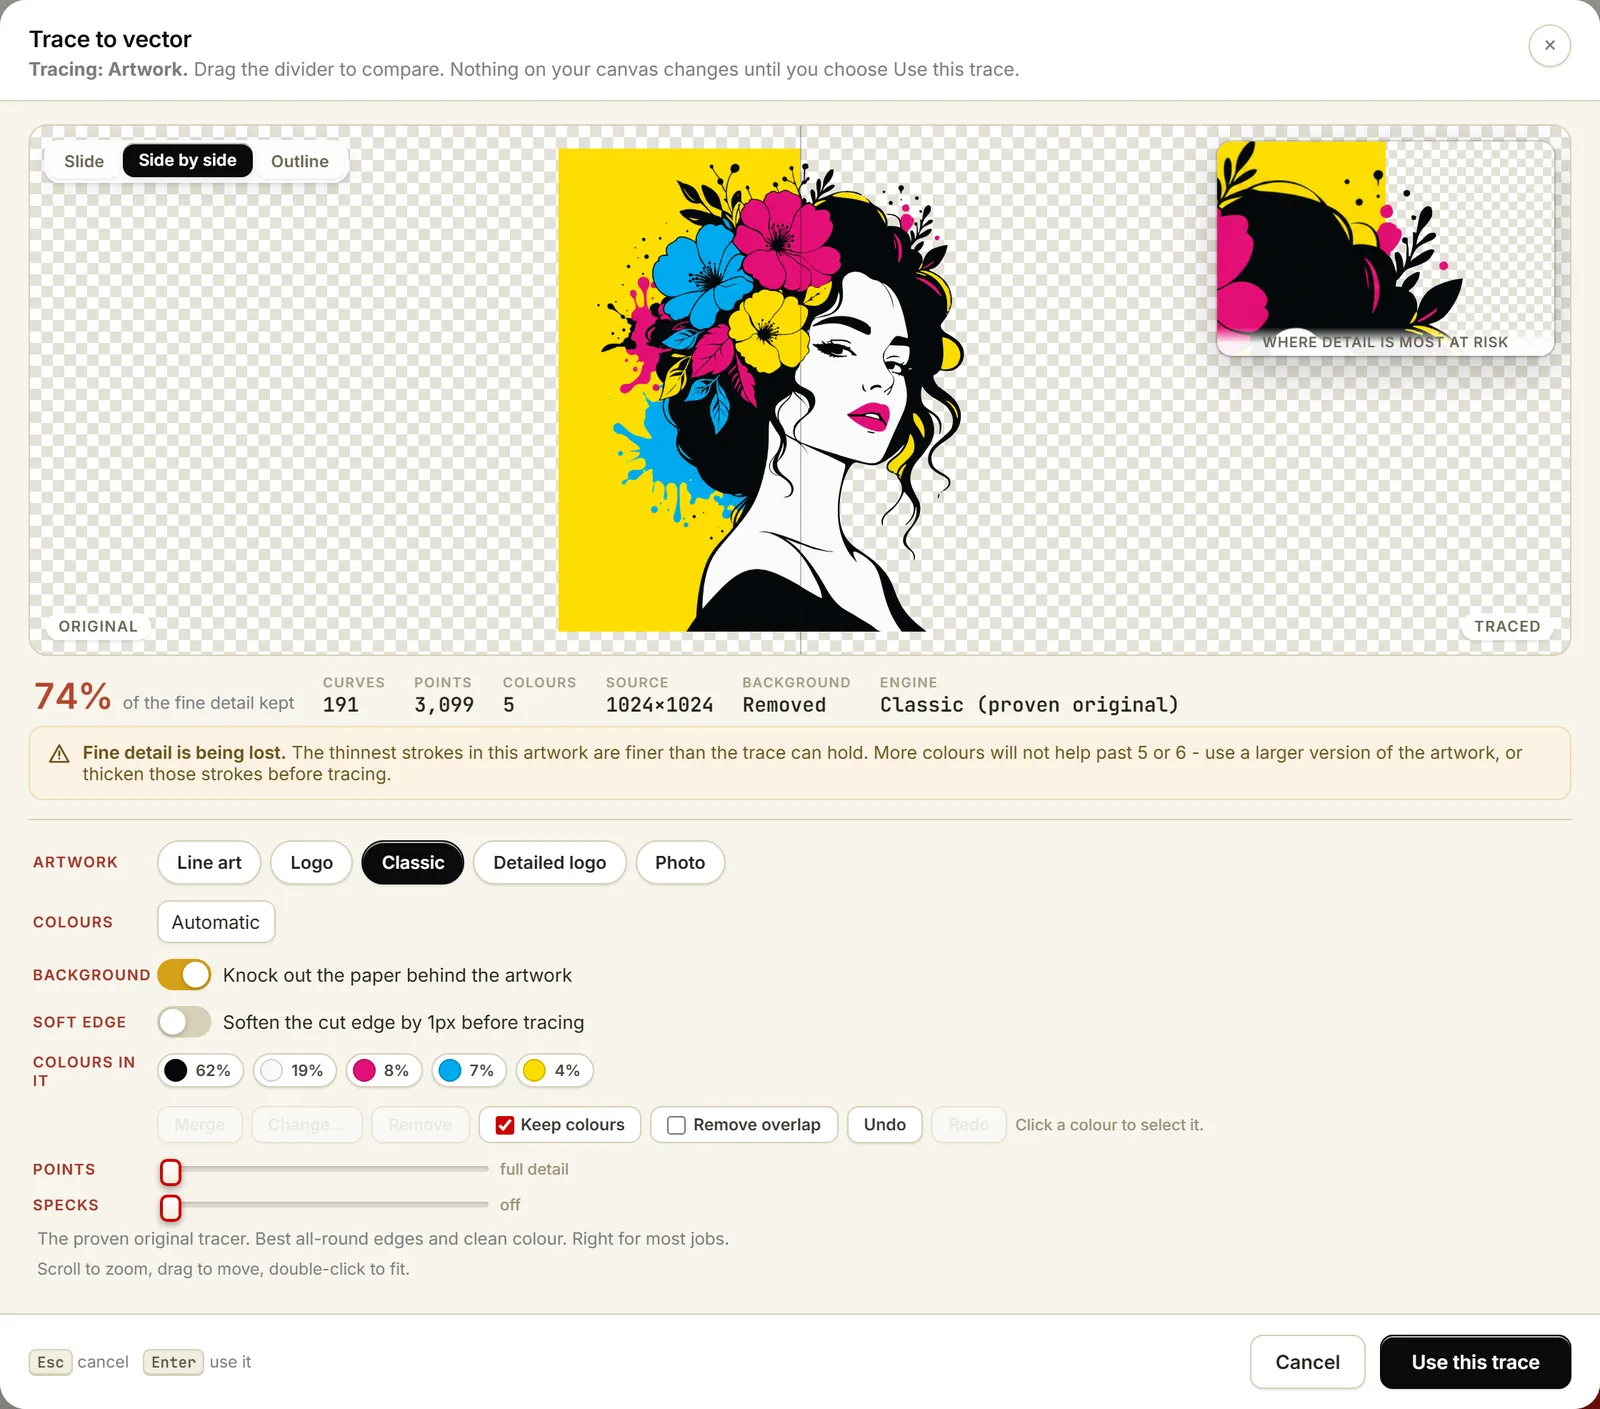
Left is the file the customer sent. Right is what came back: clean shapes, and the paper behind the artwork already gone, so it will not print as a block of toner around the design.
Node level editing
A real drawing board, not a hobby toy.
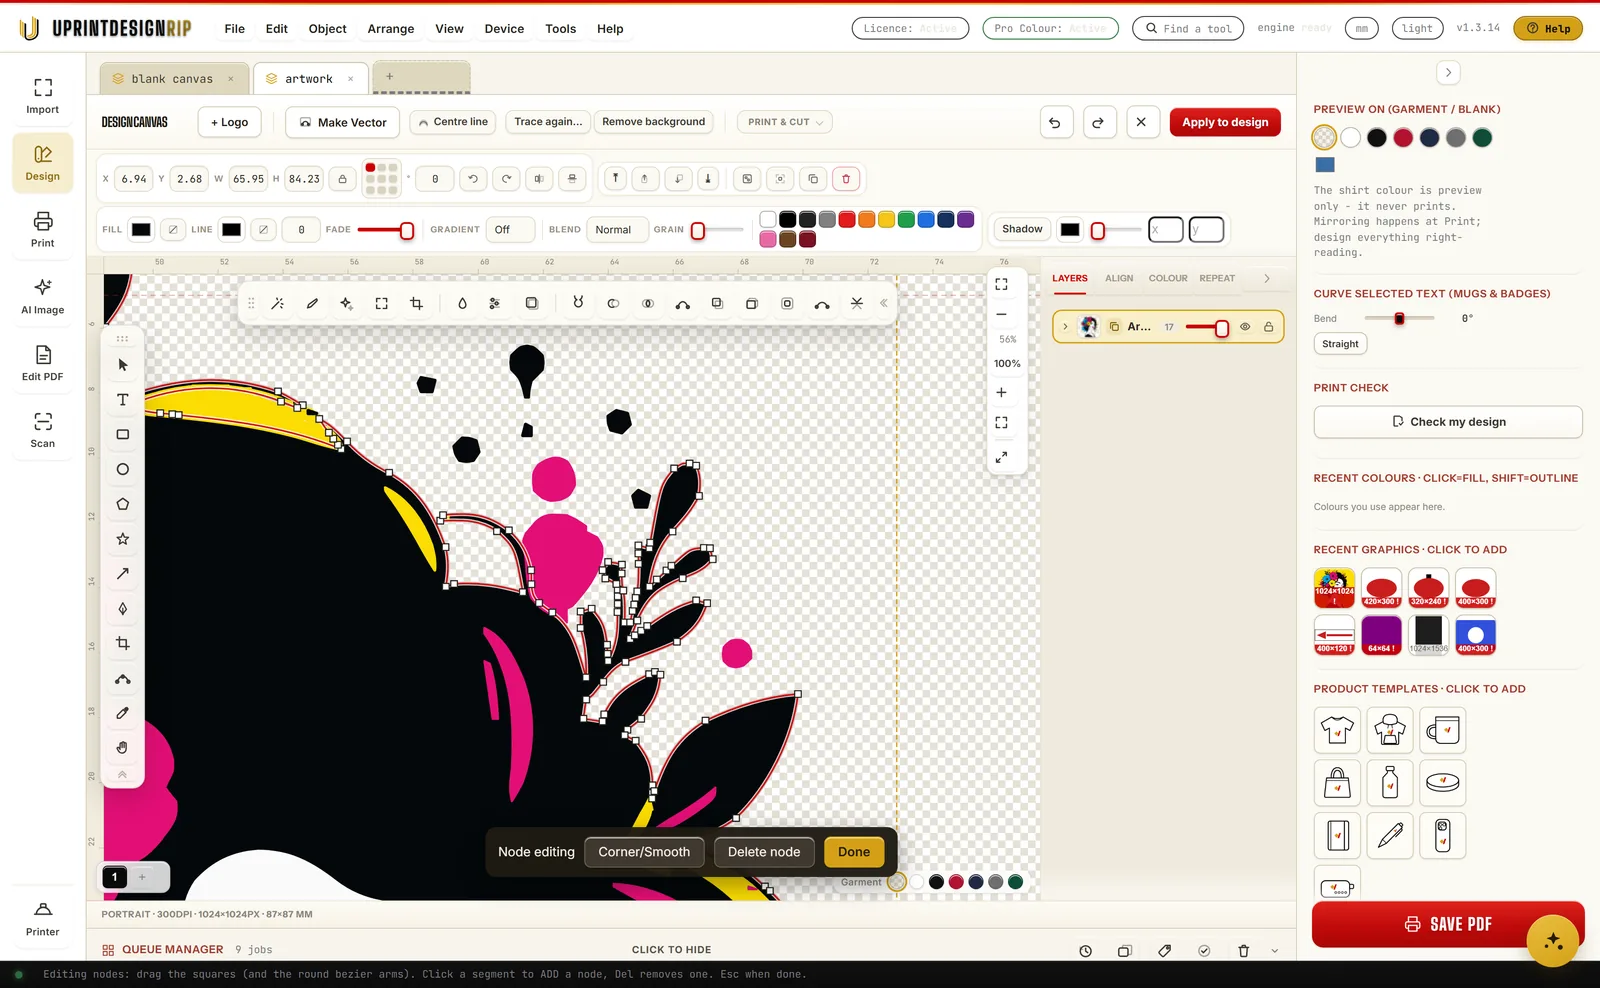
A traced logo does not arrive as one flat lump. It comes in as its parts, each one its own shape with its own colour. Zoom in and every curve is yours: drag a node, turn a corner into a curve, delete the one that should not be there.
Pen and nodes
Draw from nothing, or reshape what the trace gave you. Corner or smooth, add or delete, on any curve.
Shaping
Weld, trim and intersect. Contour for a cut line or an outline. The tools a sign shop expects.
Every part separate
Each traced colour lands as its own piece, so recolouring a customer’s logo is a click, not a redraw.
AI image generation, built in
Type it. Print it.
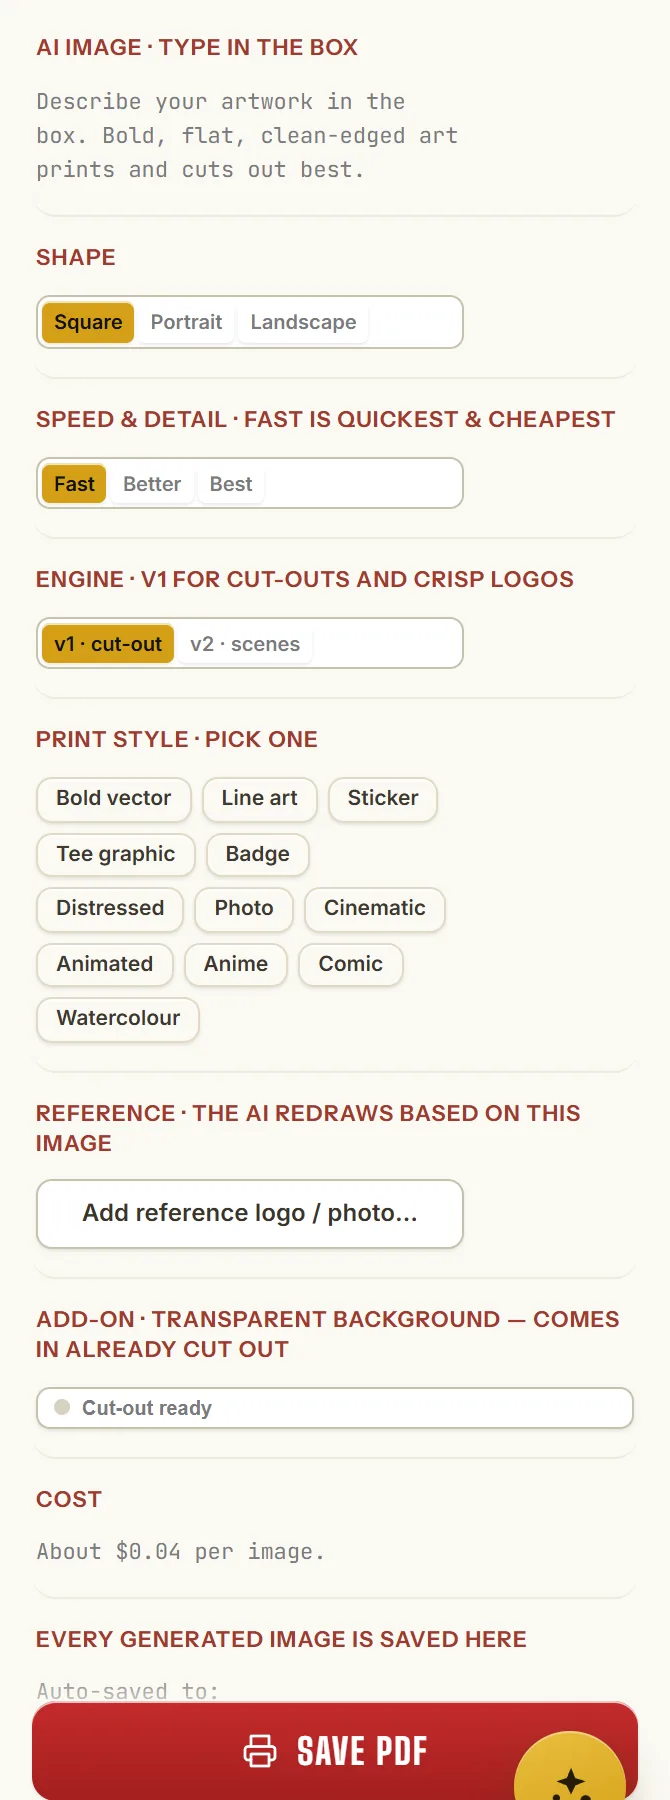
Describe the artwork. Pick a print style. Seconds later it is on your canvas with the background already cut out, ready for the white map.

Fill the sheet in one click
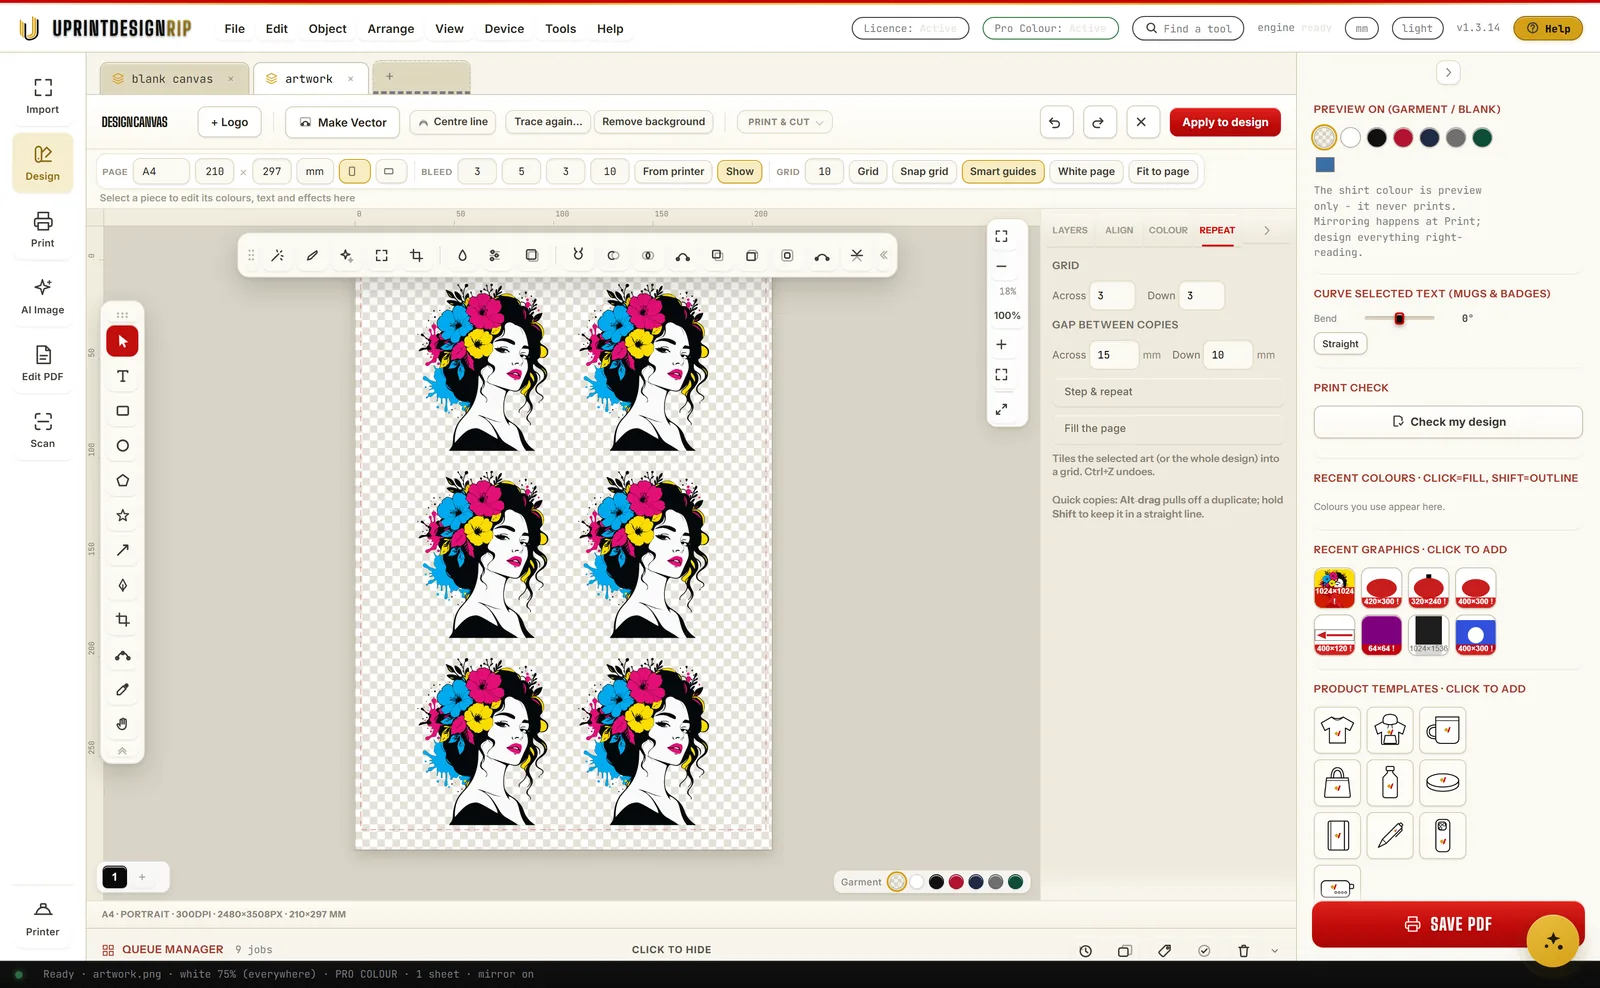
Six up on an A4 sheet, in one click.
Set the gap you want between copies, press Fill the page, and it works out how many fit and lays them out. Or set the grid yourself with Step and repeat. The expensive part of a transfer is the sheet, so the money is in how little of it you waste.
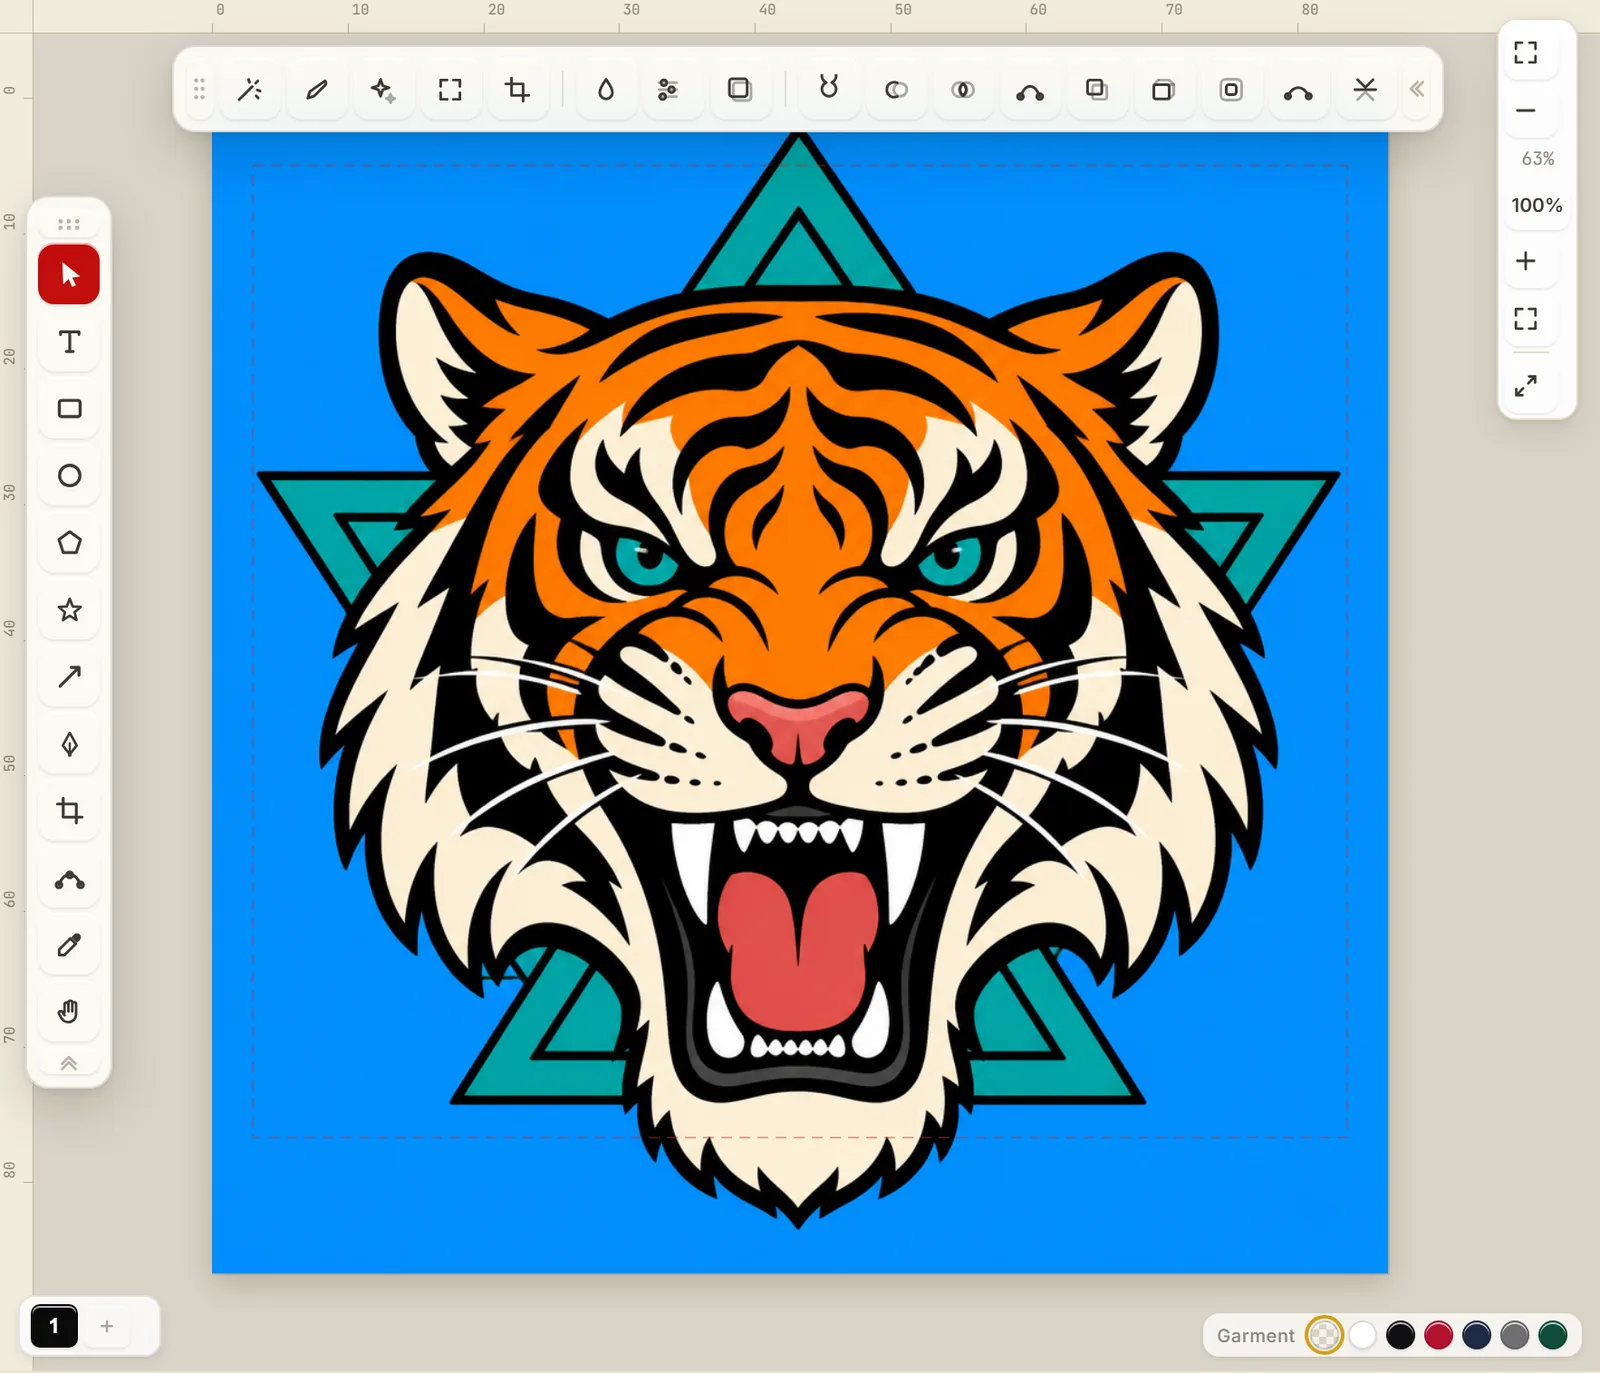
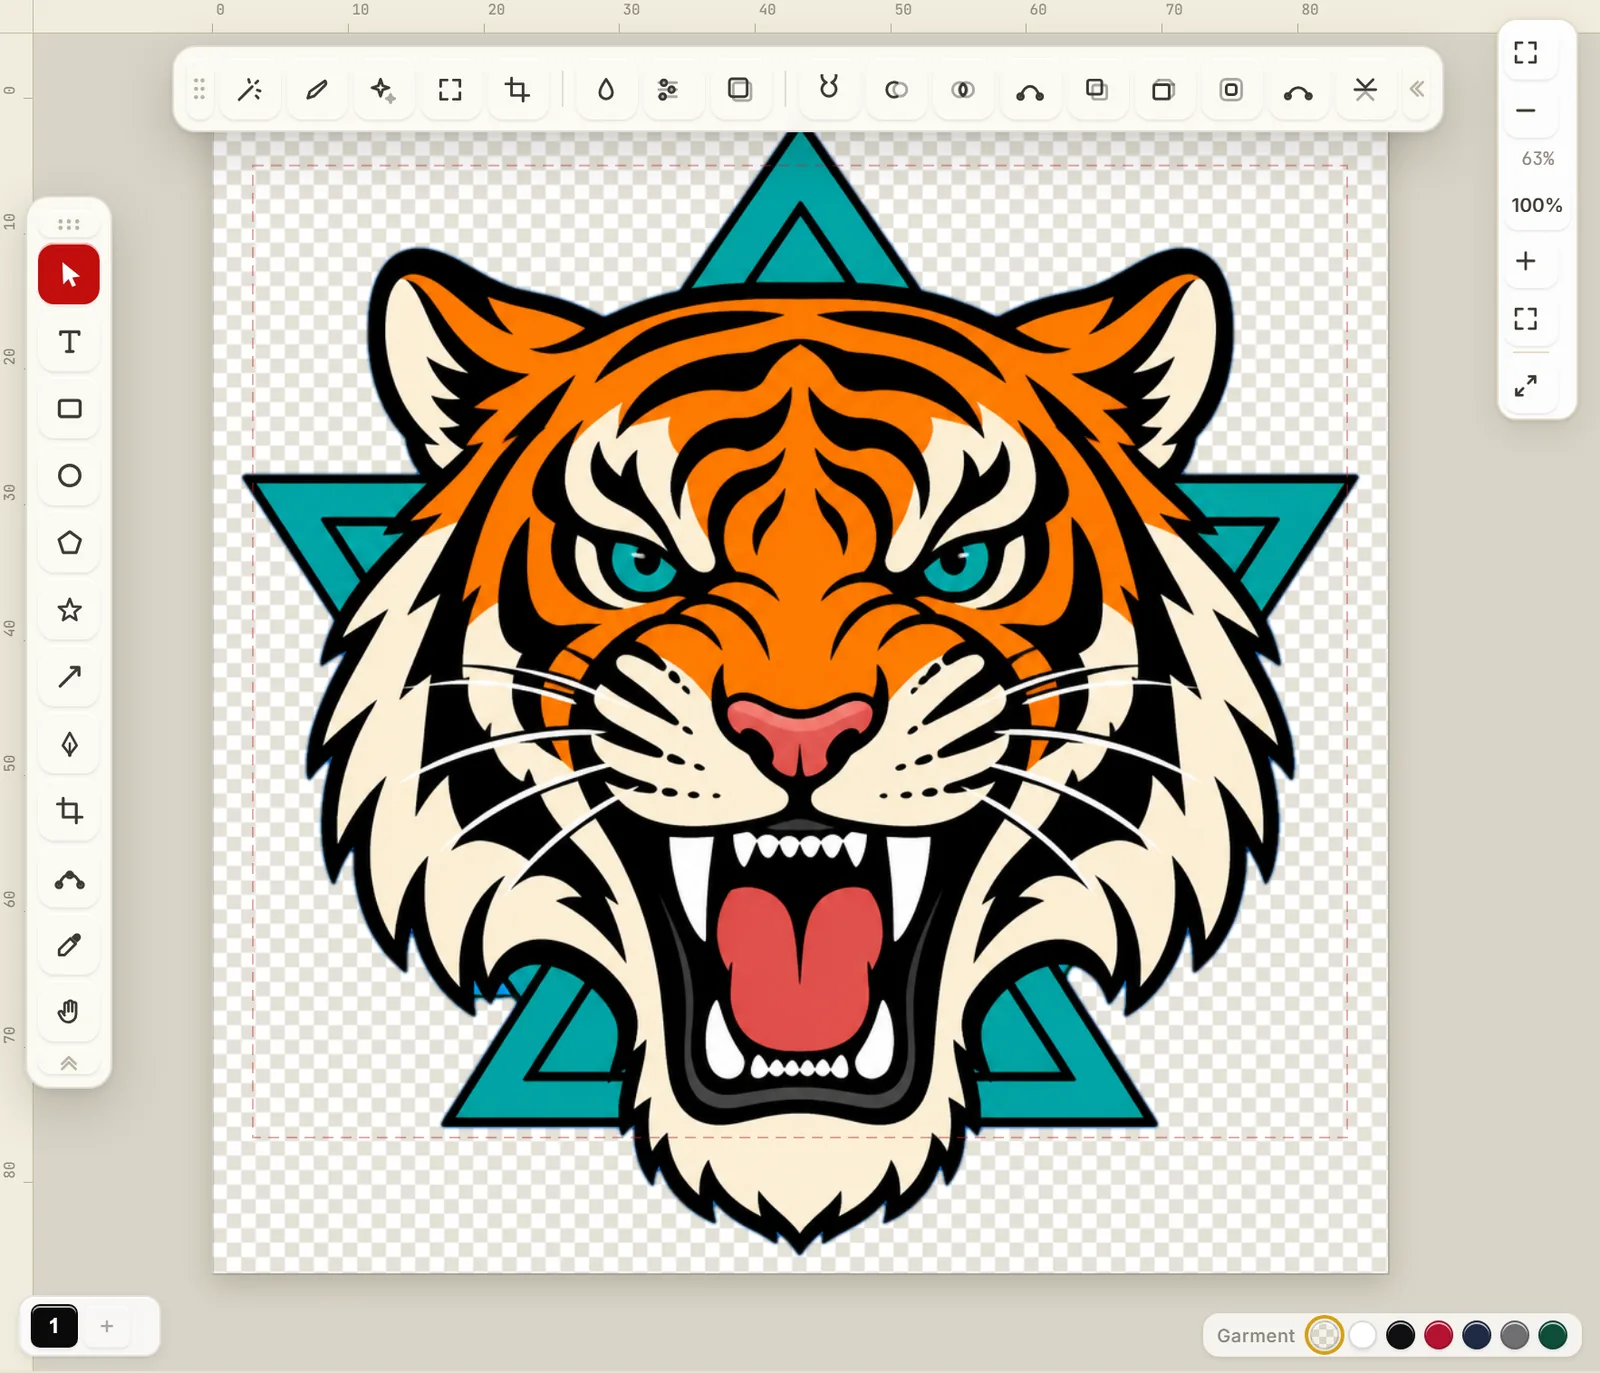
Background removal
The box behind the logo, gone.
A customer sends a logo sitting on a solid square. Printed on a dark shirt that square is a slab of toner you paid for and nobody wanted. Two ways to get rid of it, and you pick whichever suits the file in front of you.
Refine edges
Then paint the last five percent by hand.
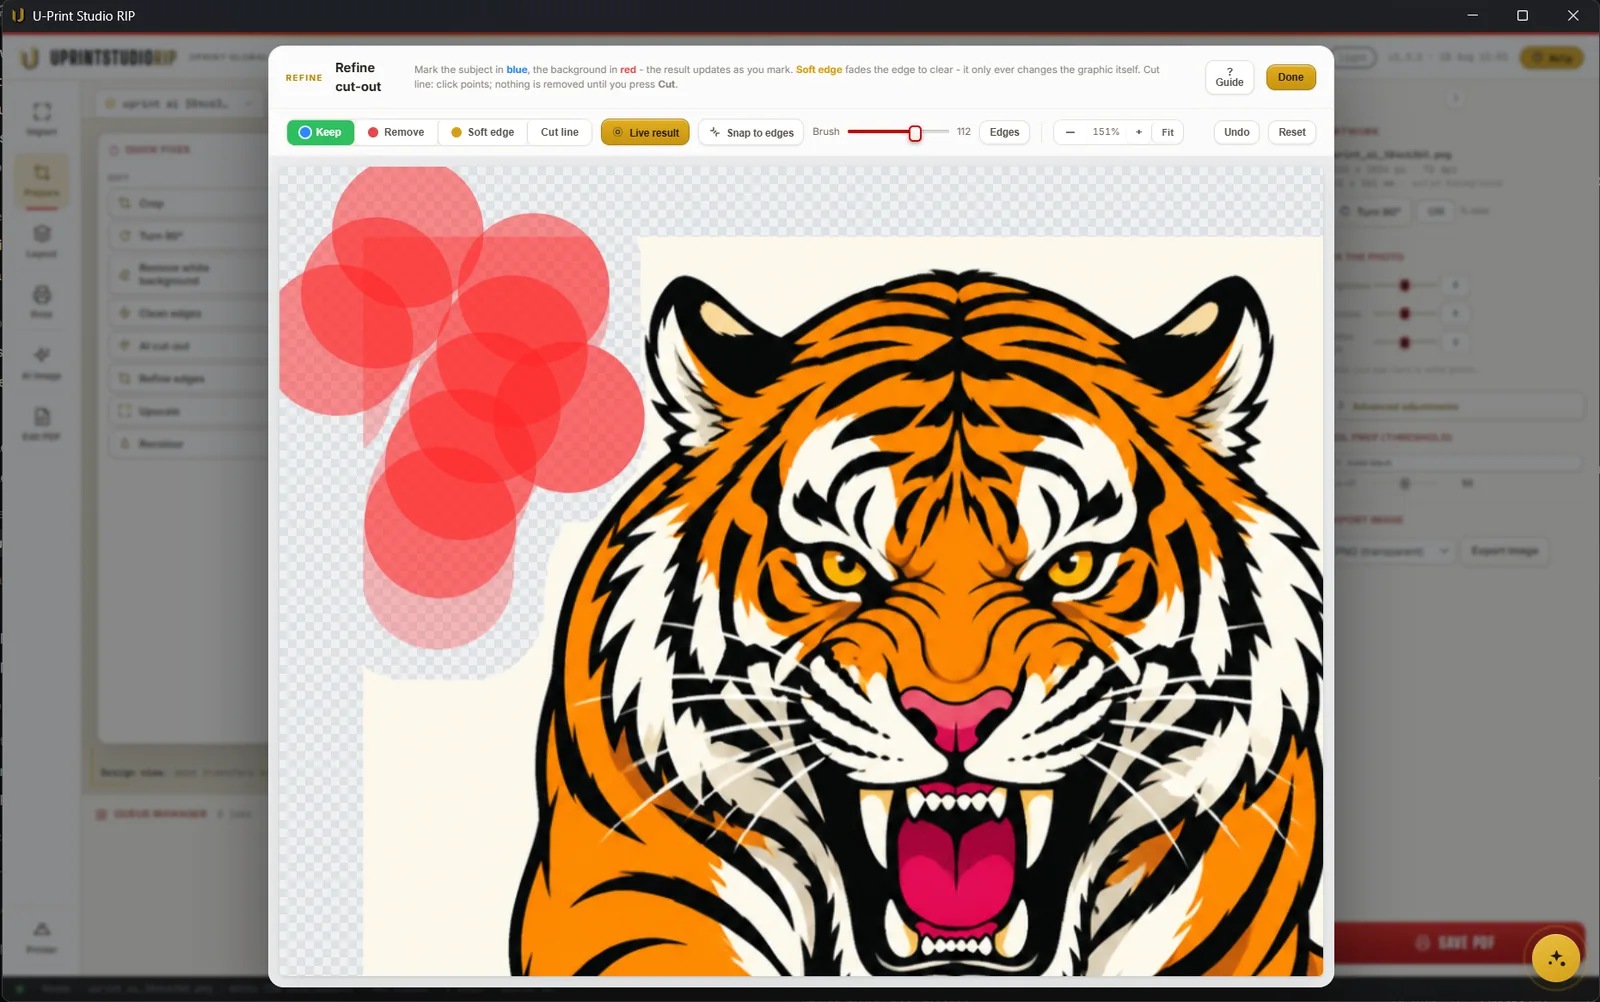
No automatic cut-out is perfect on hair, fur or a soft edge. Refine opens its own workspace over the artwork: Keep and Remove brushes, a Soft edge that fades a hard cut to clear, and a Cut line you place by clicking points. Snap to edges follows the artwork for you, and the result updates live as you mark.
It is not a preview and it is not a mask you have to keep managing. What you paint is written back as full resolution artwork, so the thing you print is the thing you fixed.
Keep and remove
Brush back a strand the cut-out ate, or wipe out the bit it kept.
Soften the edge
Fade a hard cut so it does not read as a sticker on the garment.
In both editions
Refine edges sits in Studio's Quick Fixes and on the Design canvas. Nobody has to upgrade to tidy an edge.
Scan
Paint it by hand. Print it on anything.
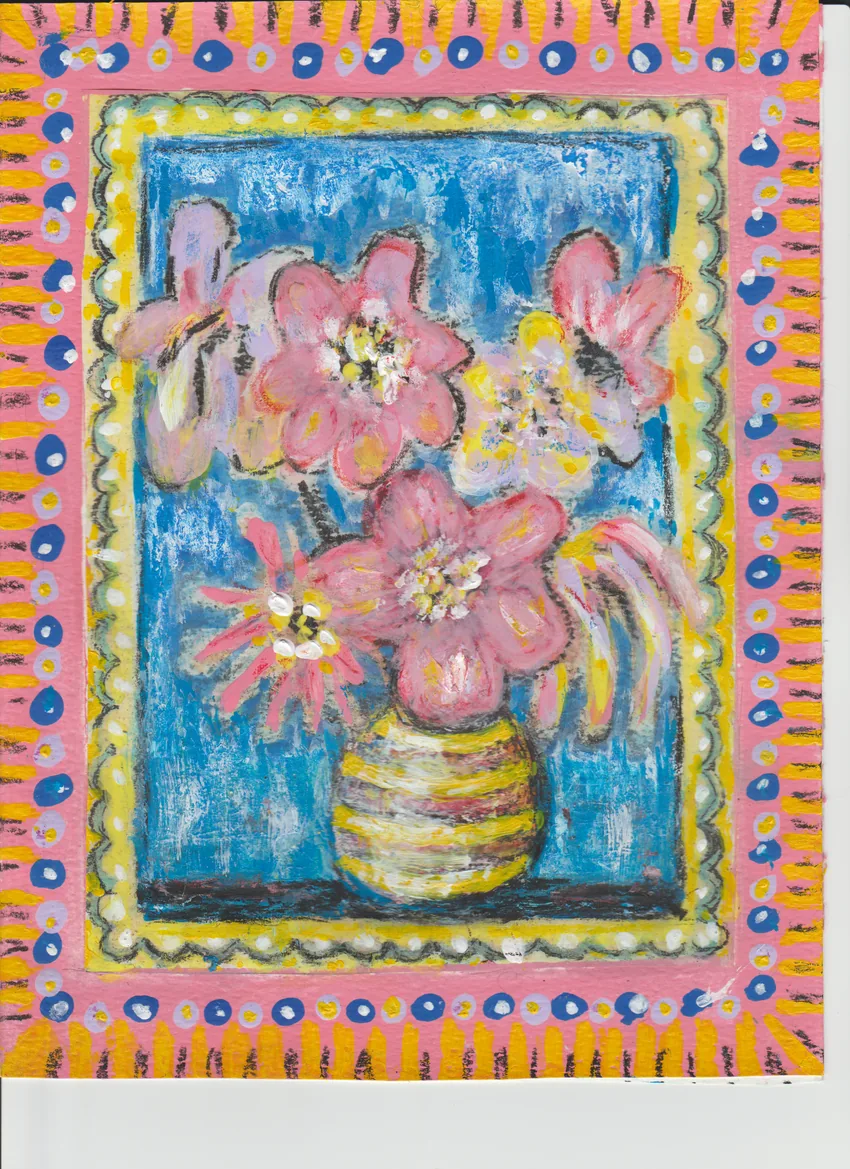
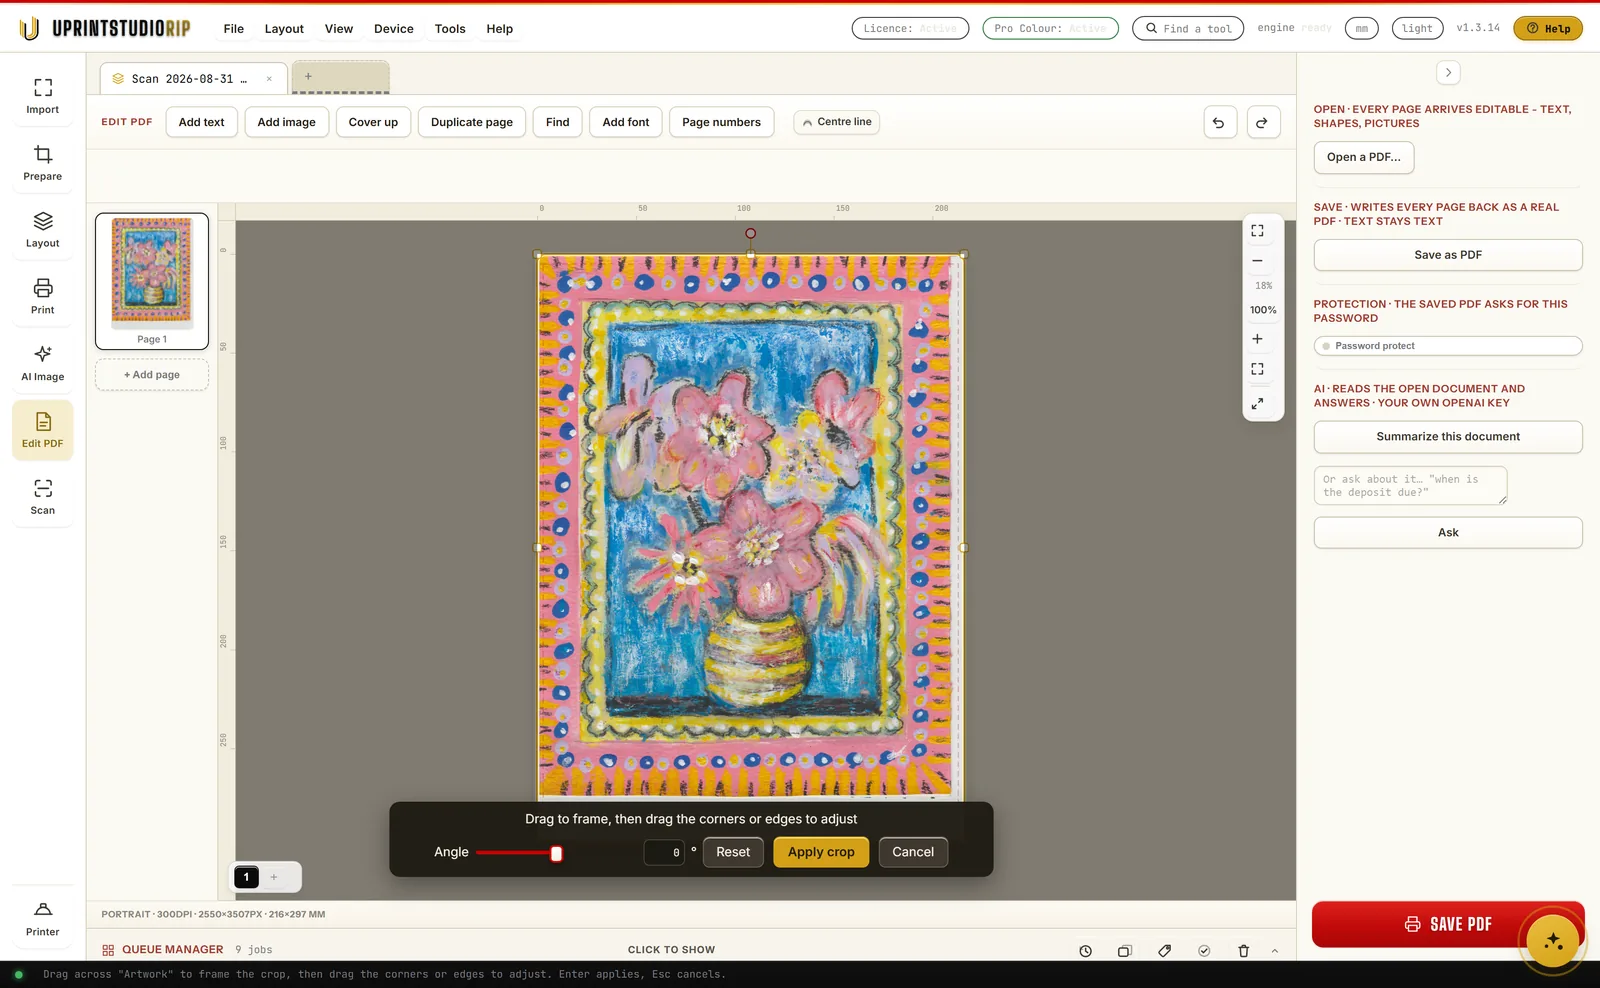
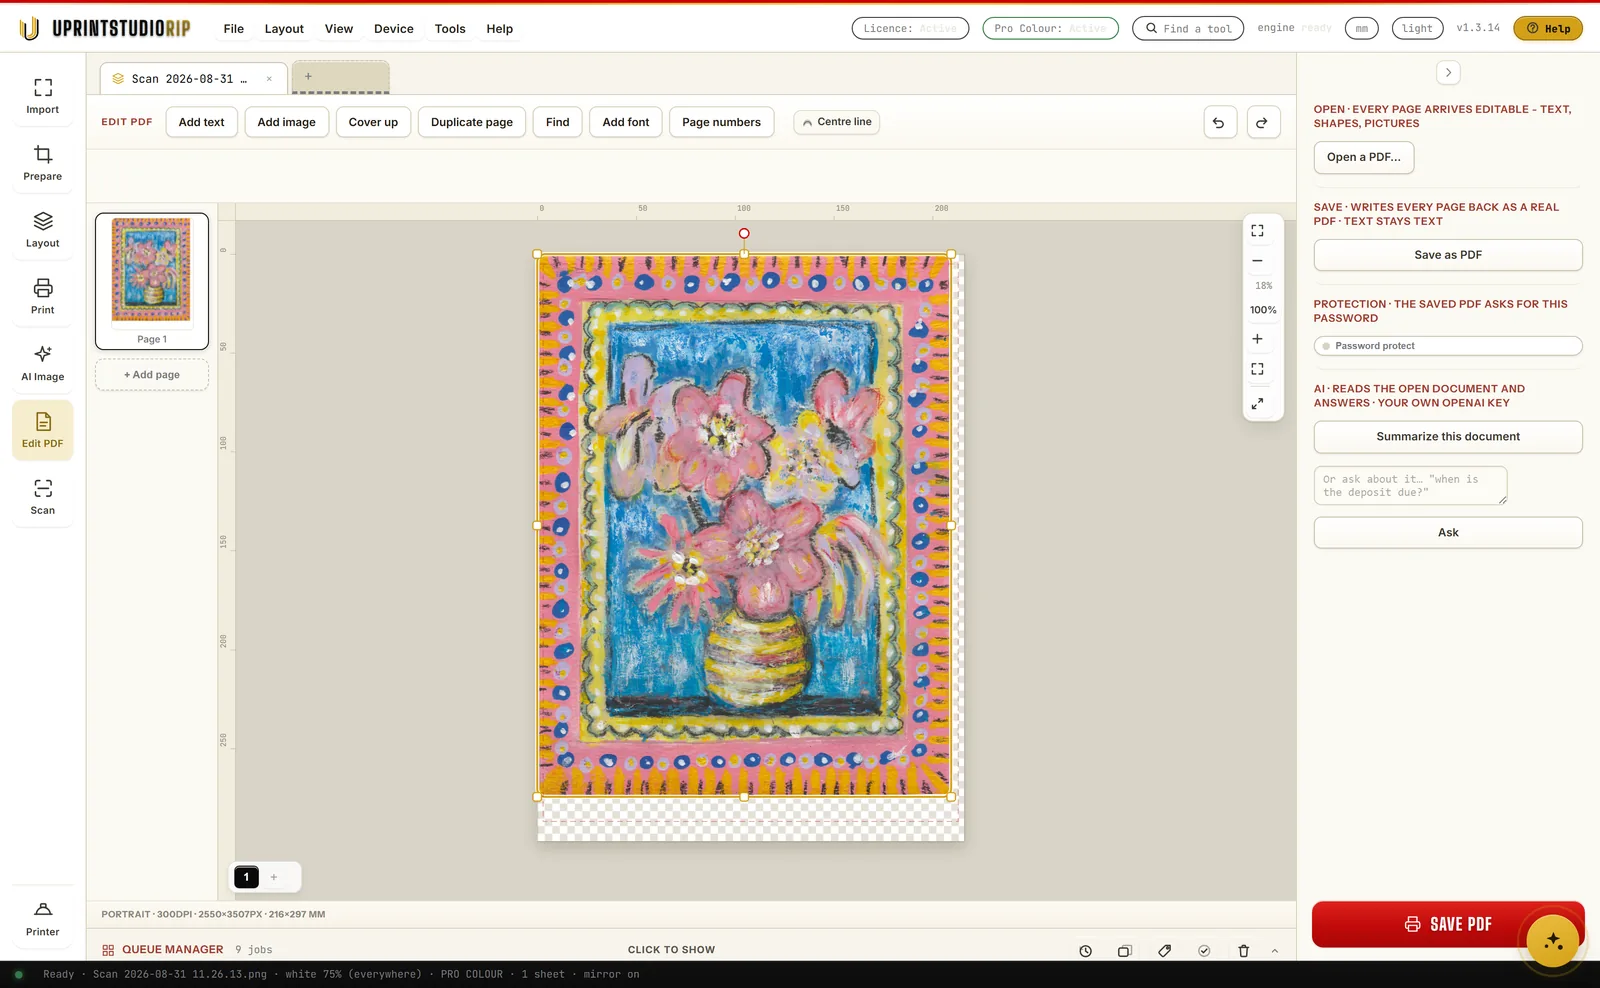
If you paint, draw or letter by hand, you do not have to learn to do it again on a screen. Put the work on the glass and scan it straight into the app. Everything below is one real card, scanned on a Canon flatbed, taken all the way through.
The station your press may not have
On most presses, white takes the black slot.
On the presses we drive, white is not an extra station. It takes the black one. One slot holds white or black, and you swap the cartridge to change which. On some machines there is no black toner in the building at all.
That is real. No software removes it.
What we do is stop it being your problem. The white layer is built in software, per job, from your own artwork. You choose how much and whether it goes under the colour or over it, on screen, before a sheet moves.
And when white is sitting in the black slot, your blacks are built from the colours that are still loaded instead of the job failing. You set it once and get on with the day. You do not walk to the machine to change your mind.
White under the colour
For dark and clear products. The white goes down first so the colour has something to sit on.
White over the colour
For the jobs that need it. Same job, same screen, no trip to the machine.
Black without black toner
When white is in the black slot, your blacks come from the remaining colours rather than failing.
Measured, not borrowed
Stock profiles are written for an offset press. Yours is not one.
Most white toner software hands your press a stock colour profile written for an offset printing press on coated paper. We ran all 21 CMYK profiles in the Windows colour store through the exact path the software would use, and read off what each one asks the press to lay down.
They all landed in the same place. Those profiles ask for 179 to 211 percent ink. Our environments do the same work on 81 to 89 percent. They are built for a press that keeps responding past 60 percent drive. A white toner engine does not.
Roughly double the toner, for colour that is further away, on every sheet.
Export
It is your artwork. Take it anywhere.
Nothing you make is locked in this software. A print ready PDF for a press, an SVG or DXF for a cutter, a layered PSD for a customer’s designer, an AI for their Illustrator, or a transparent PNG for the web shop. One menu, one click.
| Format | What it is for |
|---|---|
| Print ready. The one you send to a press. | |
| PNG | Transparent, for web shops and mockups. |
| TIFF | Lossless, for print work that must not be squashed. |
| JPEG | The everyday one, when that is all that is wanted. |
| BMP | For the old machine in the corner that still asks for it. |
| SVG | Vector, for the web and for other design software. |
| AI | Illustrator compatible, for a customer’s designer. |
| PSD | Layered, so the parts stay separate in Photoshop. |
| DXF | Cut and CAD, in mm, cm or inches, splines or polylines. |
| WEBP | Small files for the web. |
And the whole printing side
Design RIP is Studio RIP with the drawing board.
Everything on the Studio RIP page is in here too, at no extra charge and with nothing priced again later.
Three ways to pay
Start this month, or own it for good.
Already own a compatible white toner press? The RIP is sold on its own and works with the press you have. One licence activates one computer. Prices are in US dollars, and tax is worked out at checkout for your country.
Everything in Studio RIP, plus a full design canvas in the same window. Trace a logo to clean vector and edit it node by node.
- ✓Everything Studio RIP does
- ✓Trace to vector, and a pen tool to fix it
- ✓Stencil artwork into any shape, and edit it in there
- ✓AI artwork (needs your own OpenAI key)
- ✓Exports all ten formats, including cutter files
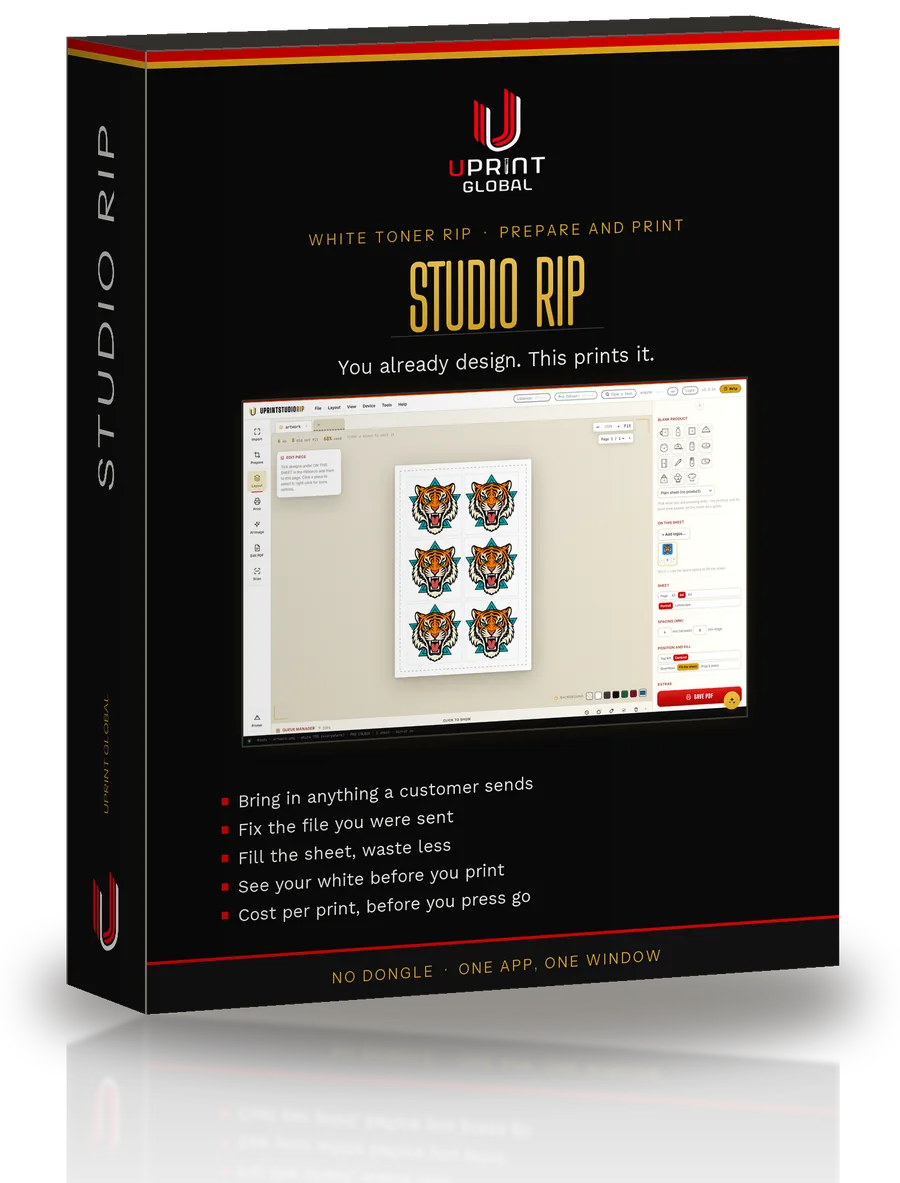
Already design in Illustrator, CorelDRAW or Affinity? You may not need the canvas at all. Studio RIP is the same printing half on its own.
Card payment on this page is on its way. Until then, order by email: tell us the edition and the plan you want and we will take the order by hand.
Want to try it first? Ask us for a 3 day trial and we send you a code that runs the full software on your own press. Ask for a trial.
Monthly gets you the same software as the once off, updates included, and stops the day you stop. Windows 10 64 bit (21H2 or newer) or Windows 11, 16 GB of memory, 6 cores, 15 GB free and a 1440 x 900 screen or larger. Fine on a 13 inch laptop: the canvas has a fullscreen button, so the design area and its tools take the whole screen when you need the room. Signed installer, publisher UPrint Global CC.
Before you buy
Will it work with my press?
Which printers does it drive?
OKI white toner: the Pro8432WT, and the A4 C711WT, which is the same machine as the ES7411WT and the Pro7411WT. The older C920WT and Pro9420WT as well.
Crio, which replaced OKI in the USA: the Crio 8432WDT, also sold as DigitalHeat FX. It is a Pro8432WT with a different badge, so the toner is the same toner.
Ghost Pro X, which is a Pro8432WT under another name.
Converted machines: the OKI C711, C712 and C833 with white toner in the black slot, and others like them.
Most of these were discontinued years ago and shops run them every day. Old is fine. If yours is not on this list, tell us the model and we will confirm before you pay, and we will say so plainly if we have not driven one yet.
Do I need to buy a UPrint printer as well?
No. If you already own a compatible white toner press, the software is sold on its own and works with the press you have.
What happens after I pay?
You get an order code and a download link. Install, enter the code, and it activates itself on that computer. Your colour environment installs with it, so there is nothing to load by hand.
How many computers?
One. Your order code locks to the computer you activate it on, and you can reinstall on that same computer any time with the same code. If that machine dies or you replace it, send us your order code and we will move you across. Need a second computer in the shop, tell us and we will sort you out.
Can I try it before I pay?
Yes. Ask us for a trial and we send you a code that runs the full software for 3 days on your own press. Not a cut down demo, the same build the paying customers get.
If I pay monthly, can I switch to owning it later?
Yes. Buy the once off whenever it suits you and the monthly stops. Nothing on your computer changes and no work has to move.
Stop paying someone else to draw it for you.
Try it free for 3 days. Install it today, print with it today.